
Since I can remember I dreamt of thick, long eyelashes, however, that’s now what I got from Mother Nature. I have naturally thin and straight lashes. When browsing for solutions, I came across DIY cluster eyelashes from Nanolash. I couldn’t help myself – I ordered one set immediately!
I’ve always envied my friends having beautiful lash fans. Mine were barely noticeable. I started getting lash extensions at the salon as a young girl, which only made them worse. The DIY Eyelash Extensions seemed to be my holy grail. Did they do well though? Keep reading the review!
DIY Eyelash Extensions – what’s my opinion on the cluster lashes from Nanolash?
I thought Nanolash’s DIY cluster lashes were a premium product right away. I unboxed and loved how super soft the wisps were. The cluster lashes from Nanolash have a beautiful curl, plus they mimic natural eyelashes.
I also noticed that the clusters are attached to a thin, flexible strip – I knew it would be seamless on the lash line. Being cruelty-free, it proved a good product for me.
NOTE!
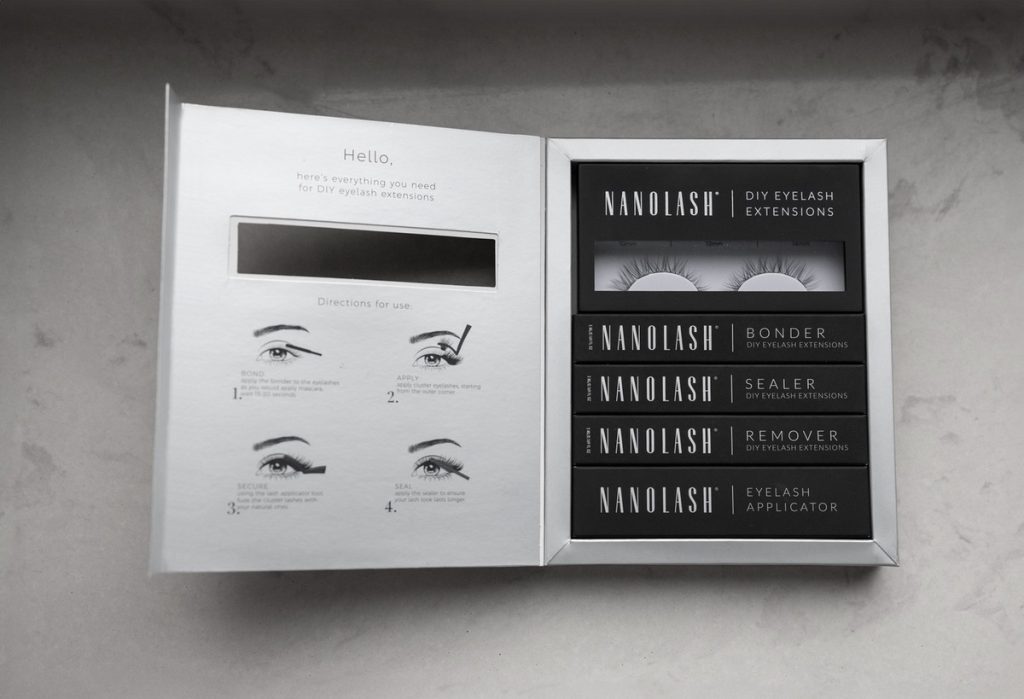
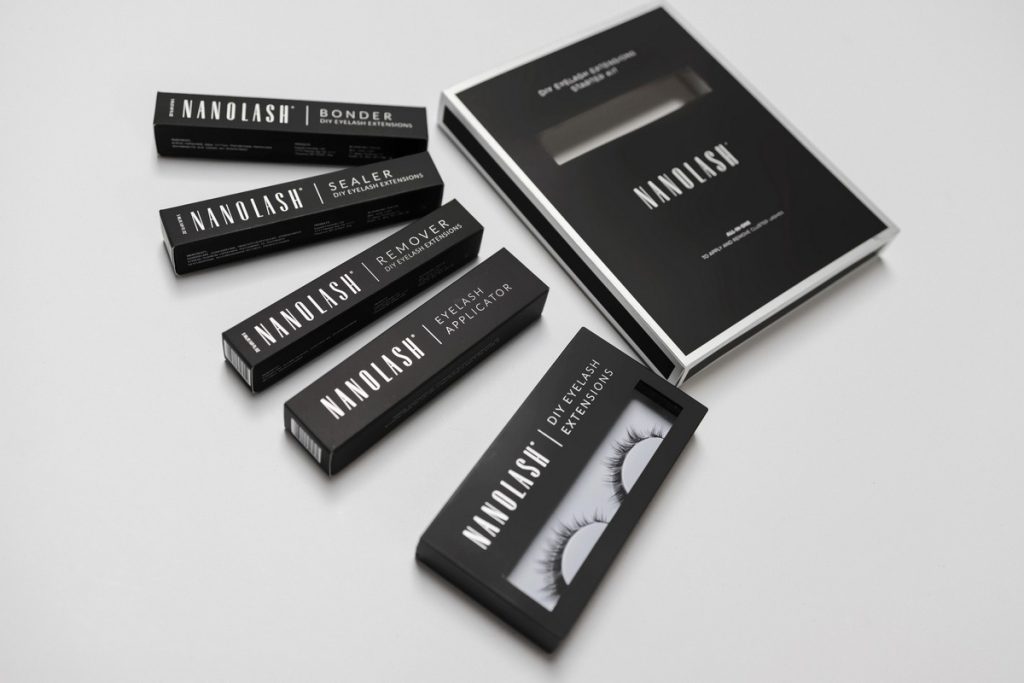
One case includes 36 lash clusters in three sizes, 10 mm, 12 mm, 14 mm. It is enough for, give or take, 4 uses. Note – there’s also a complete lash extension set on the brand’s official website. This one contains:
- Nanolash bonder
- Nanolash sealer
- Nanolash remover
- stainless steel lash tweezers
Choose the set if you haven’t got such lash accessories yet. It will make application much easier!
How do I apply eyelash extensions using Nanolash’s cluster lashes?
The manufacturer says that DIY cluster lashes application takes only 10 minutes and the wisps last for up to 5 days. This was like dreams come true! I rushed to start my first lash extension at home.
The treatment went smoothly and, as promised, took little time. I did everything according to instructions included in the packaging. Fast and easy DIY lash extension involves only four steps:
- you apply a small amount of the bonder and wait until the glue gets sticky.
- you grab a lash cluster and place it around one millimeter away from the lash line.
- you gently press the cluster to make sure it stays put.
- and finally you get rid of the sticky coat using the sealer.
The process actually took less than the promised 10 minutes and I didn’t have any experience!
How long lash extensions last is another thing. The Nanolash cluster lashes were supposed to last for 5 days. I wore them for over a week. I took the lashes off after 8 days yet they still looked amazing. You should know, though, I remembered about proper lash extensions aftercare and:
- slept on my back.
- brushed through the lashes regularly to get rid of any dust.
- avoided oil-based cosmetics that would break down the glue.
I think proper aftercare is essential when you want to make your lash extensions last longer.
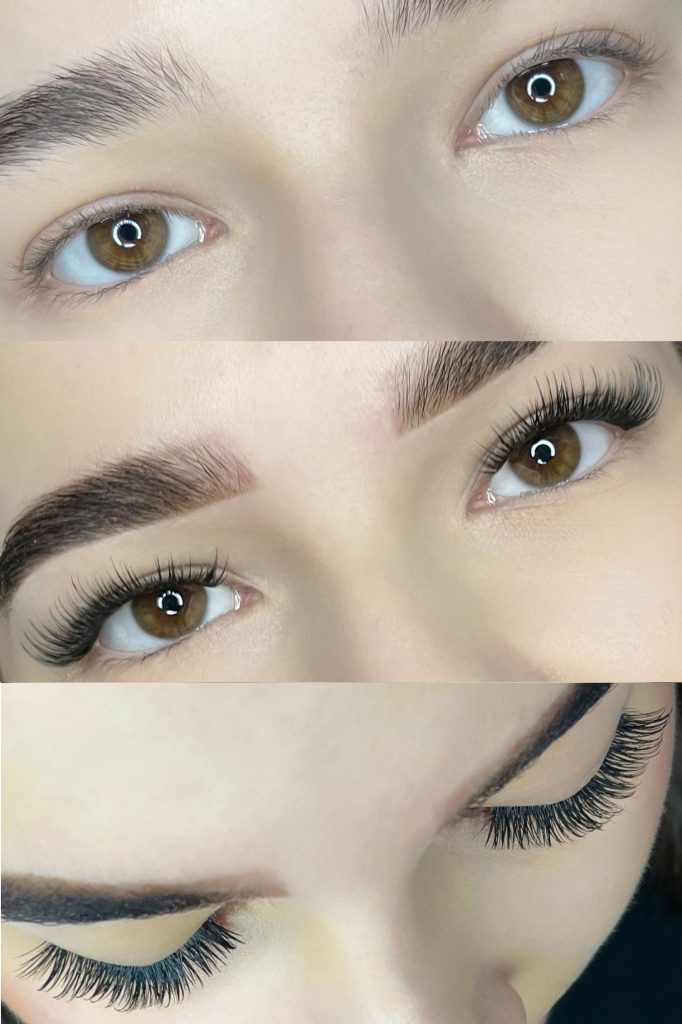
DIY Lash Extensions are a product that successfully met my expectations. The Heartbreaker style worked perfectly on my lashes.
Cluster eyelashes DIY Lash Extensions – Am I happy with the result?
The cluster lashes – the Nanolash DIY Lash Extensions – fitted my expectations. Above all else, these are easy-to-use and comfortable-to-wear DIY false lashes. They didn’t cause any discomfort, and the process of applying cluster lashes took very little time.
I also noticed that apart from the manufacturer saying these are disposable lash extensions, we can reuse them! After taking them off and removing the glue residue, the lashes kept their shape and curl. A few days later, I applied the same clusters and loved the effect!
The DIY Eyelash Extensions are perfect if you want to save time and money. On average, one box is enough for 4 applications, plus you can reuse the lashes.
I love how these DIY cluster lashes look on me. Why don’t you see how they work for you?


